There are three area to add images in a group: Button Image, Group Description, and Image.
Button Image
The button image displays when the group is linked to a page block and "block settings from Group" is enabled. A sub-setting for button image is "Use Image as Button Background" which displays is assigned to a parent group. If no button image is selected, the button will display an auto-populated color based on the Web Store's primary color. We recommend page block styling be managed with the page instead of the group; this method allows more design flexibility.
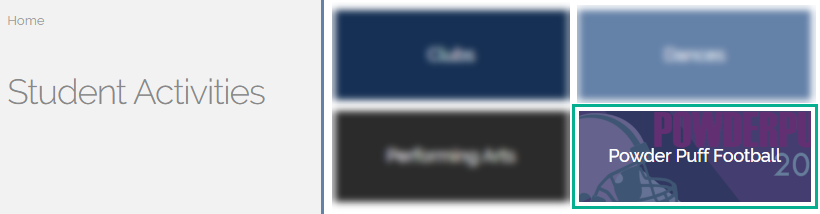
- Go to INVENTORY > GROUPS.
- Locate the group and double-click to edit.
- Next to Upload Image, click SELECT FILES... to add to the database.
- Next to Button Image, select the file name.
- Next to Use Image as Button Background, check the box.
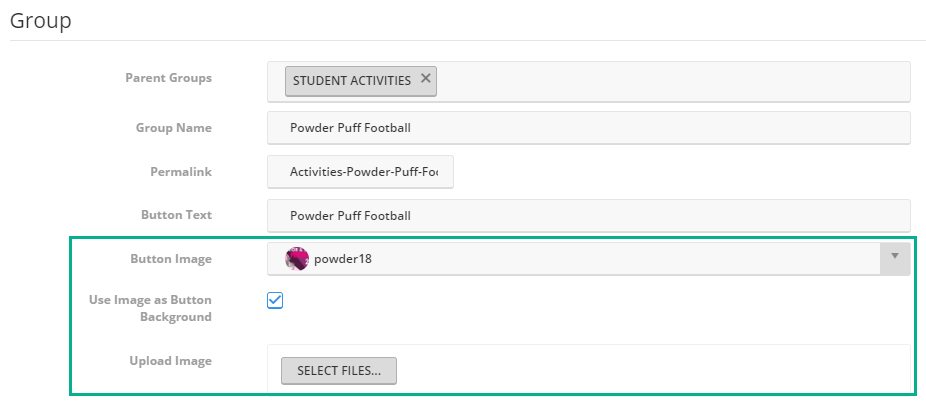
- Click UPDATE.
Group Description
Use HTML to add an image; the image must comply with ADA requirements (include "alt" attribute).
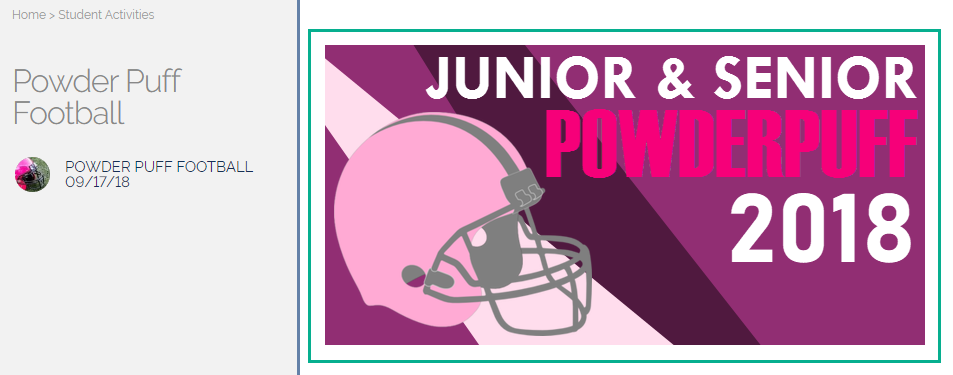
- Go to INVENTORY > GROUPS.
- Locate the group and double-click to edit.
- Next to Upload Image, click SELECT FILES... to add to the database.
- In Group Description, click the </> source code button.
- Copy the code below and paste in the source code screen. The bold text must be changed.
Replace "INSERT" with a short description of the image; do not use "image of" or "graphic of". "RTNAME" must be replaced with the text in the Web Store URL that precedes ".revtrak.net". The file name and type must replace "FILENAME" (i.e. "cookies.png").
<img alt="INSERT" src="https://images2.revtrak.net/img/webstore/RTNAME/buttons/FILENAME" style="max-width:500px;" />
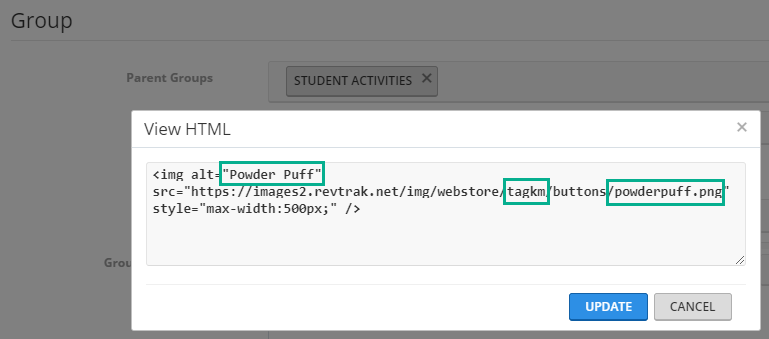
- Click UPDATE to save the source code.
- Click UPDATE to apply the changes to the group.
Image
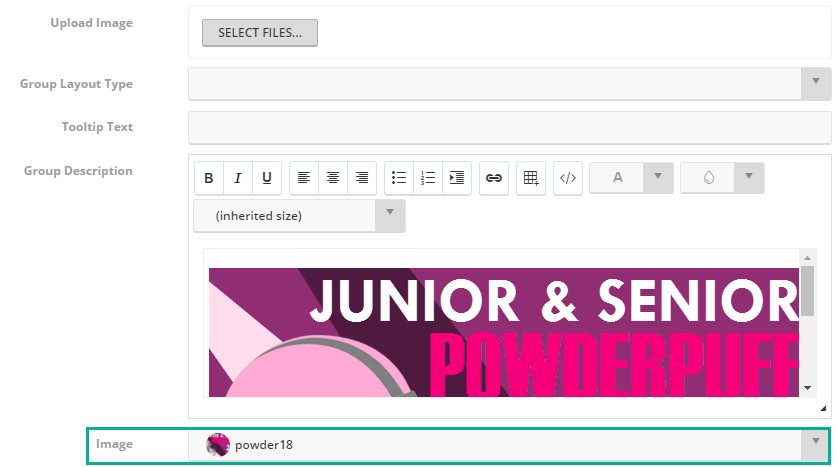
Displays as a backdrop to the group name when viewing the group's items. Will not display if Single Item Display is enabled.

- Go to INVENTORY > GROUPS.
- Locate the group and double-click to edit.
- Next to Upload Image, click SELECT FILES... to add to the database.
- Next to Image, select the file name.
- Click UPDATE.