If a private link needs to be sent to certain customers, a hidden group can be created. Hidden groups, while not listed on the Web Store, can be accessed by anyone with the link.
Creating a Hidden Group (customer-facing)
If you need assistance setting up a hidden group, contact support@revtrak.zendesk.com.
- Go to Inventory > Groups.
- Verify the group does not already exist by using the search field under Group Name. If the hidden group does not exist, continue.
- Click + NEW GROUP.
- Next to Group Name, enter the hidden group name. (Example uses "Prequalified Students".) The permalink will automatically populate.
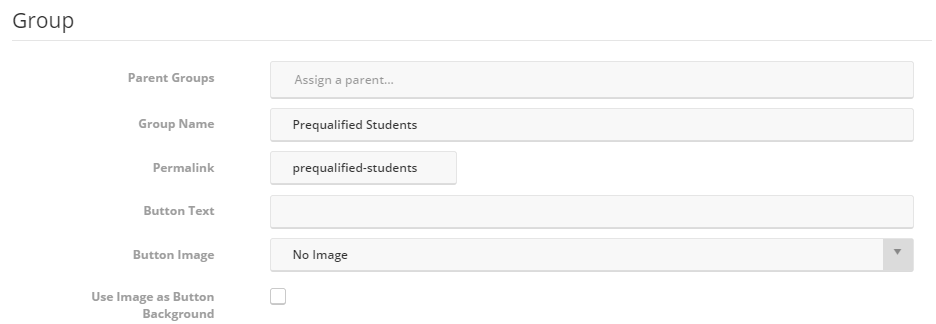
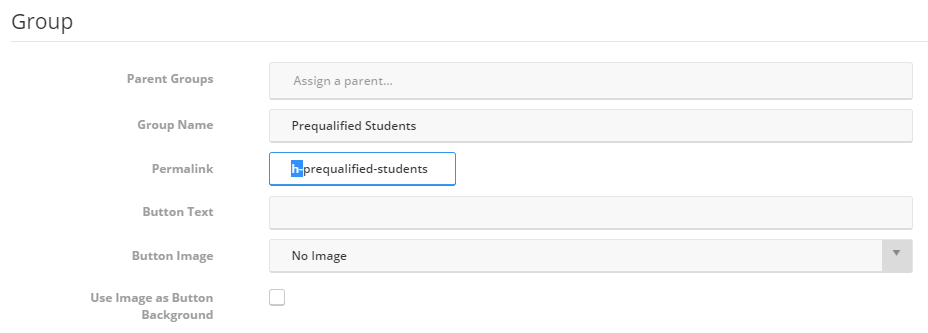
- Next to Permalink, add prefix "h-" before the auto-populated stub to indicate "hidden". Copy the permalink for a later step.
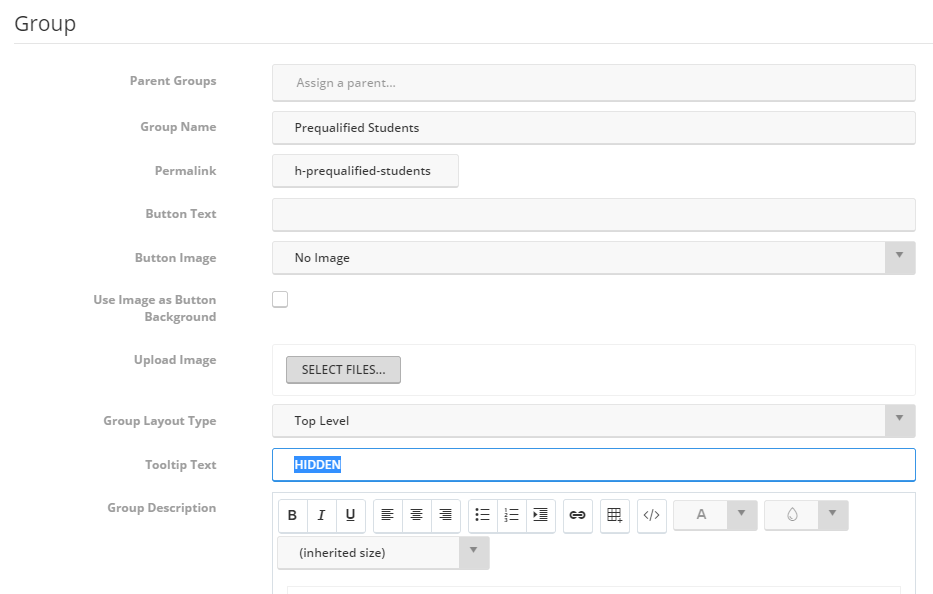
- Next to Tooltip Text, type "HIDDEN" for internal reference.
- Next to Order Alert, if applicable, add up to two recipient email addresses.
- Next to Show It, deselect the box so the group is hidden from the Web Store.
- All other fields are optional. Update as needed.
- Click UPDATE.
- In a new tab, open the Web Store homepage.
Click in the URL bar and paste the permalink that was copied after the last forward slash (i.e. https://yourschool.revtrak.net/pastehere). On the keyboard, press ENTER.

This is the direct URL to the hidden group. Copy the entire URL to share the location.
Items destined for a hidden group should still be built in review status and only assigned to the hidden group once finalized.
Create an Order Entry Group (for item filtering in module)
If using groups in to filter Order Entry items, a parent Order Entry group must be created.
- Go to Inventory > Groups.
- Click + NEW GROUP.
- Next to Group Name, enter "OE".
- Next to Permalink, enter "oe".
- Next to Show It, deselect the box. The parent Order Entry group must be hidden.
- Click UPDATE.