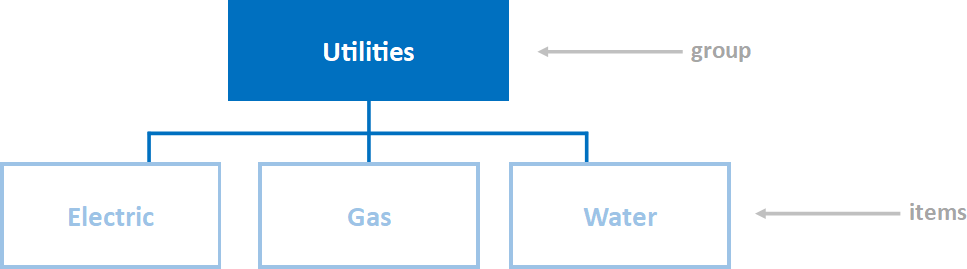
A simple group consists of one group and one or more related items.
Simple Group Mapping
Creating a Simple Group
- Go to Inventory > Groups. Click + NEW GROUP. The group editor will display.
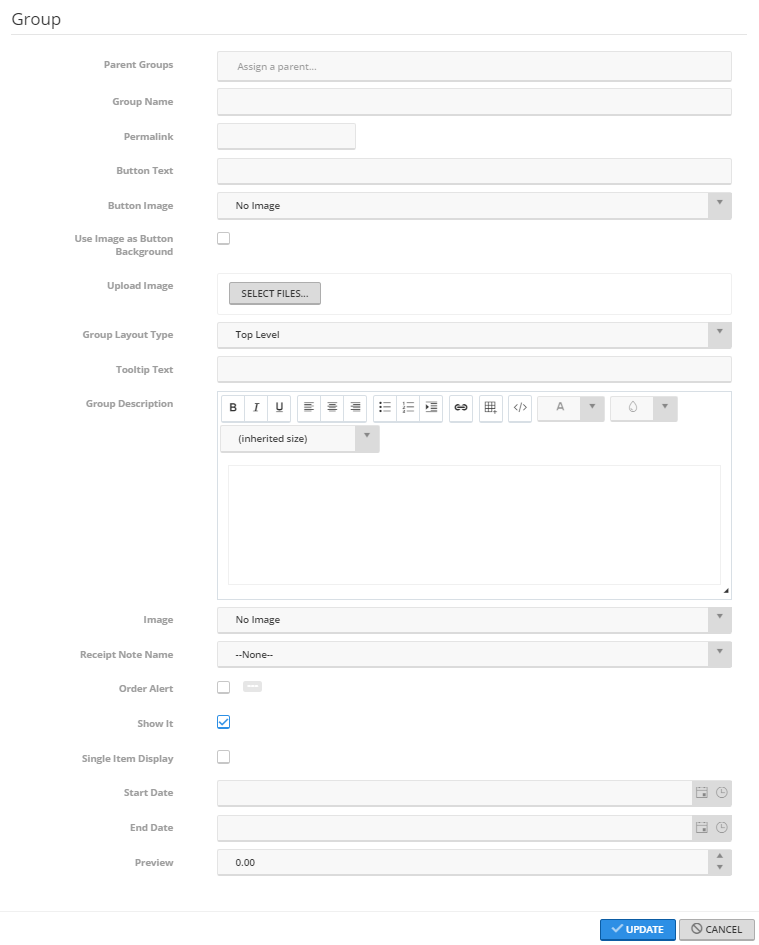
- Next to Group Name, enter the name. Avoid being too specific so the group can address multiple related items.
For example, the flow chart above shows a group that has a name not specific to one of the fees because the group also holds other related utility fees. Even if only one of the items were to be published for purchase at first, foresight can be used to name the group appropriately to accommodate future fees.
- Permalink will automatically populate as the group name is entered. This must be unique.
- Button Text can be left blank.
If the group is ever assigned to a parent group, the button text will automatically populate the group name. In that instance, button text can be customized.
- Next to Show It, check the box list the group on the Web Store.
- All other fields are optional. Update as needed.
- Click UPDATE.
Once updated, the group editor popup will disappear. Check the changes on the customer-facing side of the Web Store. To edit, use the search fields in any of the columns to relocate and edit.