The article, "Create a New Reservation," is available for download below.
For assistance, contact RegWerks Support at 888-847-9470 or Support@RegWerks.ZenDesk.com.
Use Reservations to create a calendar of days for a Class. The Reservation becomes the Class Schedule. A new Reservation must be created for every new Class, and one Reservation can only be attached to one Class. Once a Reservation is attached to a class, it is no longer available to use in any other class.
1. Prior to creating a new Reservation, on the Setup menu, verify that there is a Fee Class and Group Type in the corresponding menu options.
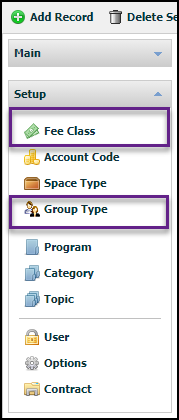
2. Create a new Fee Class and Group Type if none exist.
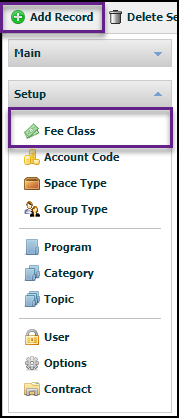
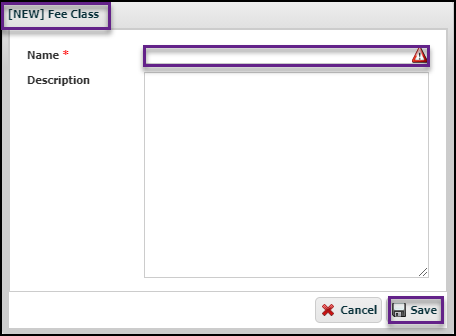
- To create a new Fee Class, select Fee Class, then Add Record. In the NEW Fee Class window, enter the Name of the Fee Class, then Save.
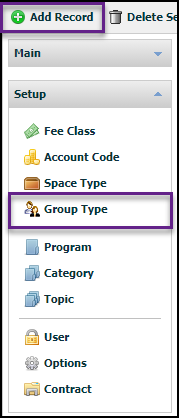
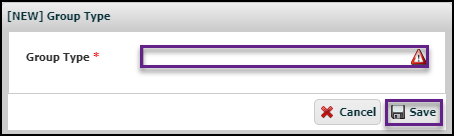
3. To create a new Group Type, select Group Type, then Add Record. In the NEW Group Type window, enter the Name for the Group, then Save.
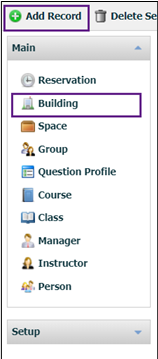
4. Additionally, verify that there is a Building present for the location your reservation will take place in.
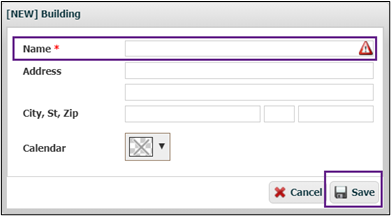
- To create a new Building, select Building under the Main menu, then Add Record. In the NEW Building window, enter the Name of the Building, then Save.
- Before saving, the user may add the Building’s physical address.
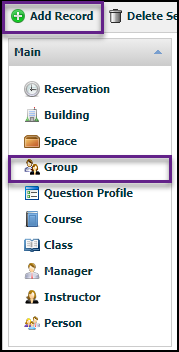
5. After verifying that there is a Fee Class and Group Type, select Group under the Main menu. Add a new group by clicking the Add Record button.
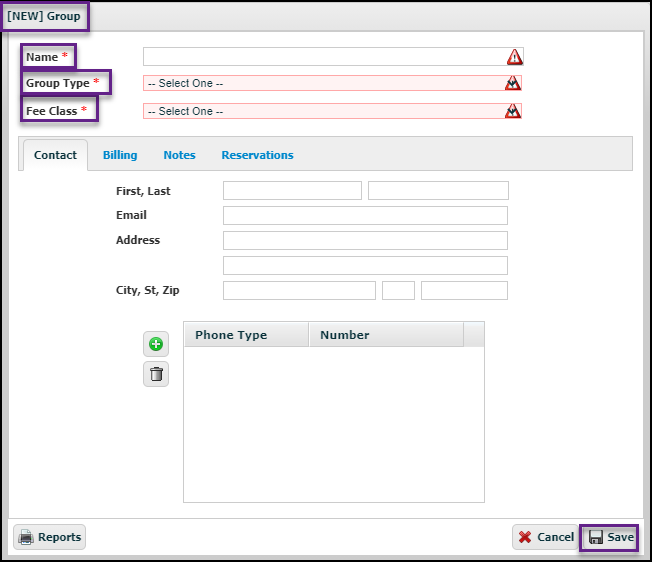
- In the NEW Group window, name the Group, and then assign a Group Type and Fee Class to it.
- Click Save.
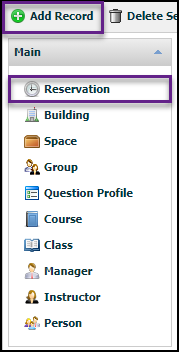
6. Click on the Reservation menu option. Add a new Reservation by clicking on Add Record.
7. Complete the details of the Reservation in the NEW Reservation window:
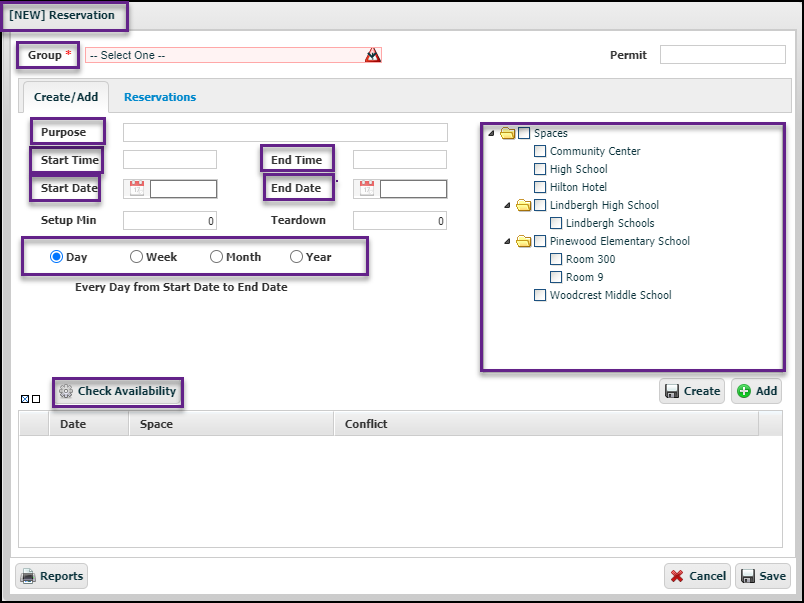
- Assign the Reservation to a group using the Group drop-down menu.
- Give the Reservation a name in the Purpose field. This name could match the name of the class to which the reservation will be linked.
- Enter the Reservation’s Start and End Times as well as Start and End Dates.
- Select the radio button that corresponds to the frequency with which the class occurs.
-
- When choosing either Week or Month, select the radio button that corresponds to the number of times the class occurs within that time period.
- When choosing Week, select the days on which the class takes place in addition to which weeks of the month the class occurs.
-
- Pick-a-Day
-
- For classes that occur multiple times within each week, select Week and Multiple Times Per Week, then select the weekdays (Mo, Tu, We, etc.) and week number (Wk1, Wk2, etc.) on which class is offered.
- For classes that occur on a particular day (or series of days), select 1*Per Week and By Day Number. The calendar will reflect the dates included in the reservation.
-
- Pick-a-Week
-
- For classes in which daily attendance is taken, select 1*Per Week and the weekday (Mo, Tu, etc.) on which classes begin.
-
- Select the appropriate building in the Spaces area.
8. Click on the Check Availability button to verify that there are no scheduling conflicts:
-
- If there are conflicts, determine if the reservation information must change. If the decision is to create the reservation despite the conflict, click the tiny button which checks all options for the Reservation.
- Uncheck the boxes next to any days you are not offering the class or child care.
- Click the Create button.
- NOTE: Clicking the Save or Add buttons will erase the entire reservation.
9. Attach this new Reservation to the appropriate Class on the Schedule tab.
Adding Dates to an Existing Reservation
See also article: Add Day(s) to an Existing Registration