Blocks must be manually created if adding for the first time or rearranging the order. The interface does not allow for click-and-drag placement of blocks. Block preference are erased if the page layout is changed.
To exit the element editor, click anywhere outside the left column.
Add a Block
- Go to SETTINGS > PAGES.
- Use the search field to locate the page or create a new page. Double-click the row.
- Click a blank block.
If using carousel, click within the bottom row. The top row is a slide which is a different entity. If a new row of blocks is needed, reference the section below.
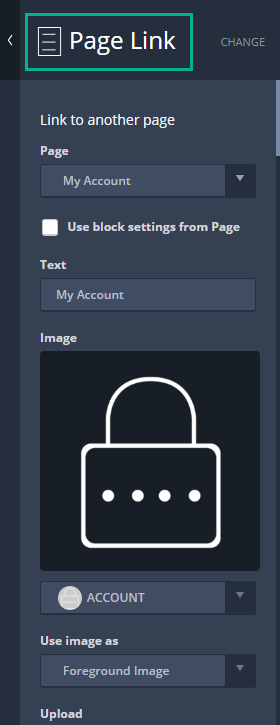
- In the Block Type menu, select Link Block.
- In the Link Block menu, select the appropriate link type.
Page Offers a menu to select existing pages in Portal. Group Offers a menu to select existing groups in Portal. External Offers a field to enter a non-Web Store URL. Used for integrations or organization links. - If linking to a page or group, use the drop-down under Page/Group to select the target.
By default, the block will inherit the linked page/group settings. To customize the block's display (text and image) on the current page, deselect the box left of Use block settings from Group.
- Click Save Changes.
Edit a Block
- Go to SETTINGS > PAGES.
- Use the search field to locate the page and double-click the row.
- Click the block.
- In the left column, apply changes.
If necessary, click the top-left header to navigate the block settings menu.
- Click Save Changes.
Remove a Block
IMPORTANT: Make sure to set the Block Type to "Blank" to prevent empty links from displaying. Empty link blocks can confuse customers.
- Go to SETTINGS > PAGES.
- Use the search field to locate the page and double-click the row.
- Click the block.
- In the top-left area of the left column, click until "Block Type" display.
- Select Blank Block.
- Click Save Changes.
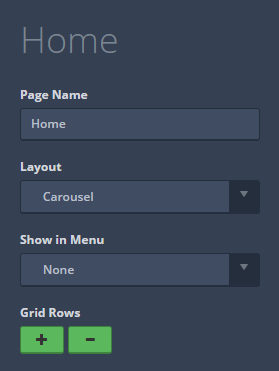
Add/Remove a Row
- Go to SETTINGS > PAGES.
- Under Grid Rows, click + to add a row or - to remove a row.
Removing a row will eliminate the blocks within the row. Block settings will not be preserved.
- Click Save Changes.